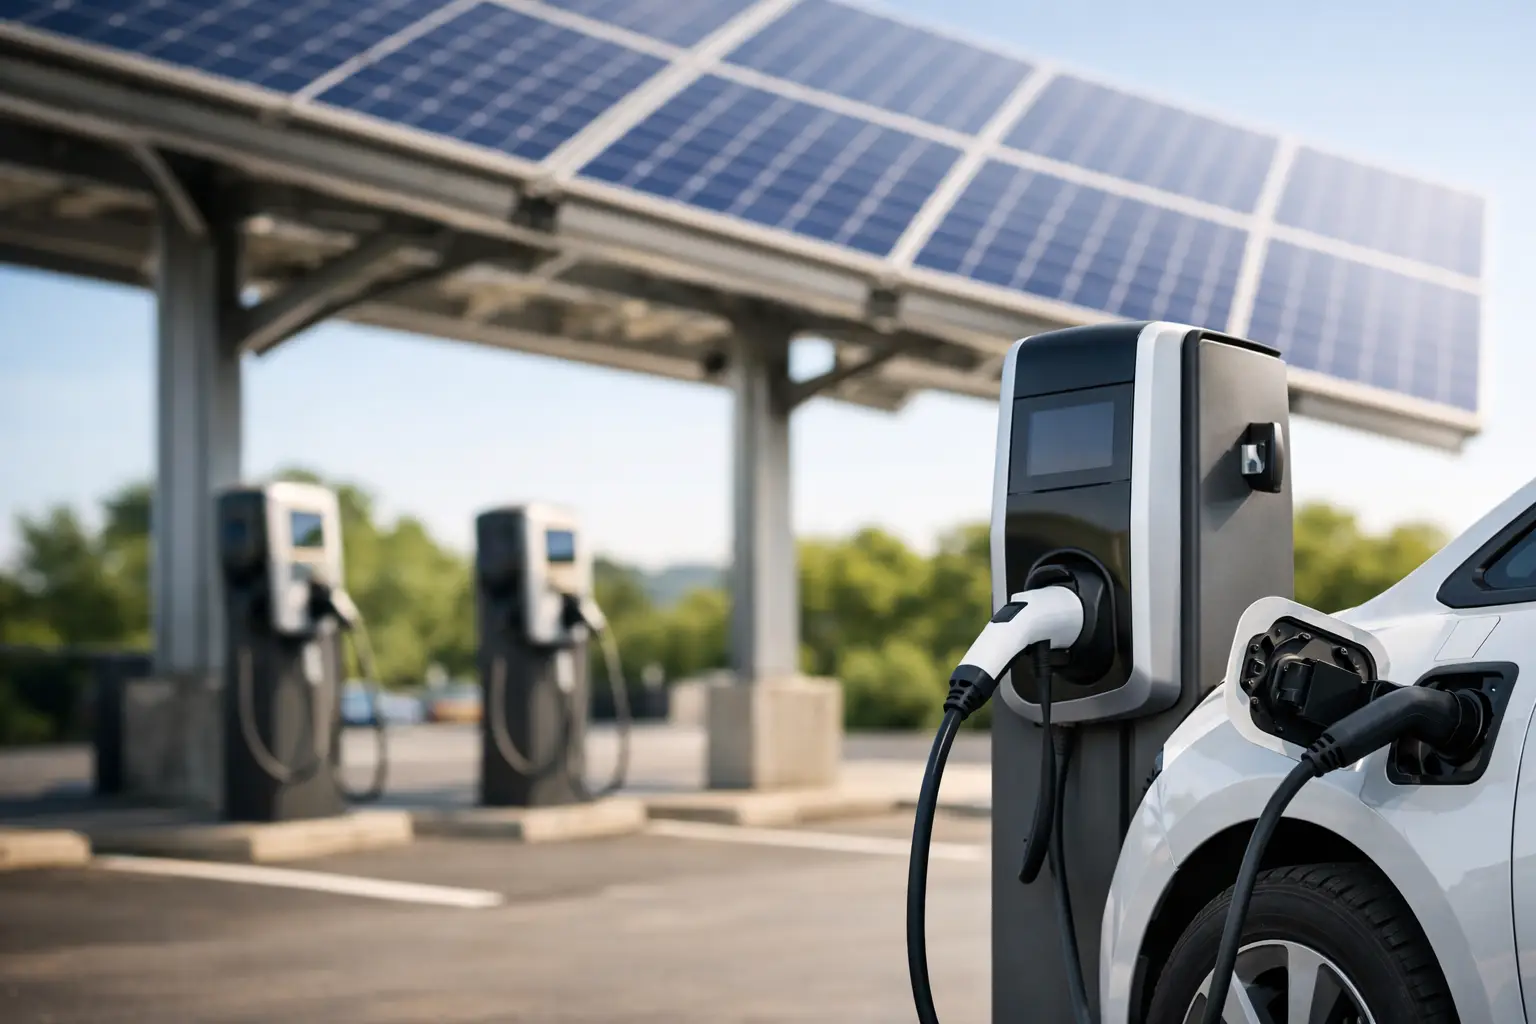
The fastest way to make an off-grid setup feel real is to power something useful with your own system. A phone, a laptop, a lantern, a router at a cabin, or a small fridge in a weekend retreat – once those essentials run on stored sunlight, independence stops being an idea and becomes part of your daily rhythm. If you’re wondering how to build a solar charging station, the good news is that you do not need to start with a full-home system. A well-planned charging station is one of the smartest, most approachable ways to build confidence with solar.
For most people, the best setup is not the biggest one. It is the one that matches how you actually live. A compact station for a tiny home or camp kitchen has very different needs than a backup power hub for a detached office or cabin. Start there, and the rest gets much easier.
How to build a solar charging station that fits your life
Before you buy a single component, decide what the station is meant to do. That sounds obvious, but this is where many DIY solar projects get bloated. If your real goal is to keep phones, battery packs, lights, and a laptop charged over a weekend, you do not need the same system you would build for power tools or refrigeration.
Think in terms of daily energy use. Count the devices you want to charge, how often you use them, and whether they run directly from USB, 12V, or standard household AC outlets. A phone might need very little power, while a laptop, camera battery system, or portable fan adds up quickly. If you want your station to feel dependable rather than barely adequate, build with some margin.
A simple solar charging station usually includes four core parts: a solar panel, a charge controller, a battery, and your output connections. Those outputs might be USB ports, 12V sockets, or an inverter if you need regular wall-style outlets. Some people build everything into a weather-resistant box or cabinet. Others create a clean shelf-based setup inside a shed, van, cabin, or mudroom. Either approach works if the wiring is safe and the environment is appropriate.
Choose your power source and storage wisely
The solar panel collects energy, but the battery determines how usable your station feels after sunset or during cloudy weather. This is why battery choice matters as much as panel size.
For modern off-grid living, lithium iron phosphate batteries are often the better fit. They cost more upfront than lead-acid, but they are lighter, last longer, charge more efficiently, and generally require less maintenance. If you’re building a station for convenience, mobility, and regular use, lithium usually justifies the investment. Lead-acid can still work for tighter budgets or occasional use, especially in stationary setups, but it asks more of you in return.
Panel sizing depends on both your loads and your location. A 100W panel may be enough for light charging needs in sunny conditions. If you plan to charge several devices daily or want more consistent performance across seasons, 200W to 400W gives you more breathing room. Roof-mounted panels are great for permanence, while portable folding panels work well for flexibility. The trade-off is convenience versus optimization. Fixed panels are always working. Portable panels let you chase better sun.
Then comes the charge controller, which regulates power from the panel to the battery. For smaller, budget-conscious systems, PWM controllers can work. For better efficiency, especially with higher-voltage panels or less predictable light, MPPT controllers are usually worth it. They help you get more usable energy from the same solar input, which matters when space is limited.
The simplest build for most users
If your goal is practical independence without turning this into a full electrical hobby, keep the system architecture simple. A typical station might use one or two panels, a 12V lithium battery, an MPPT charge controller, fuse protection, and a modest pure sine wave inverter. Add USB charging ports and a 12V outlet panel if you want direct DC charging for small devices.
This kind of setup works well in a cabin corner, garage, workshop, van, or covered outdoor kitchen. It can charge phones, tablets, laptops, rechargeable lanterns, camera batteries, portable speakers, and other daily essentials without requiring constant attention. It also gives you a strong foundation if you want to expand later.
If portability matters most, you can mount the battery and electronics inside a rugged case with external ports. If aesthetics and daily ease matter more, build the station into a clean cabinet or bench so it feels like part of the space rather than a pile of gear. Off-grid living works better when the setup supports your habits instead of interrupting them.
Wiring and safety matter more than people expect
The actual process of how to build a solar charging station is straightforward, but this is the part where shortcuts cause problems. Every connection should be sized correctly for the current it will carry. Use proper wire gauges, install fuses close to the battery, and avoid loose, exposed, or improvised terminals.
The basic flow is simple: solar panel to charge controller, charge controller to battery, and battery to your loads or inverter. Follow the controller’s wiring sequence exactly, since many units are designed to connect to the battery first. Use ring terminals, fuse holders, bus bars, and shutoff switches where appropriate. Labeling the system is also worth the effort, especially if you plan to expand or troubleshoot later.
Ventilation and placement depend on your battery type and enclosure. Lithium batteries are generally easier to house than lead-acid, but all electronics benefit from dry, stable conditions and airflow. Keep the station out of direct weather unless every component is truly rated for it. A covered patio may feel protected, but humidity, heat, and dust still take a toll.
If AC power is part of your station, choose a pure sine wave inverter for sensitive electronics. Modified sine wave units are cheaper, but they can create issues with laptops, chargers, audio gear, and anything that expects cleaner power. For a modern lifestyle setup, reliable performance usually matters more than shaving a little off the upfront cost.
Build for real use, not just ideal weather
A solar charging station that only works on sunny Saturdays is not much of a station. The more useful approach is to design for ordinary conditions. That means accounting for cloudy days, shorter winter daylight, and those moments when more devices need charging than expected.
Battery capacity is what carries you through those gaps. If your station is meant for occasional recreation, you can size it more tightly. If it supports remote work, emergency backup, or regular cabin living, give yourself reserve. This is where a lot of frustration starts – not because solar is unreliable, but because the system was built too close to the edge.
It also helps to separate critical loads from convenience loads. Charging phones, lights, and communication devices may be non-negotiable. Running a blender or entertainment gear might be optional. When you understand that difference, you can build a system that protects what matters most without overspending.
A few design choices that make the station better
Good off-grid systems are not just functional. They are easy to live with. Add a battery monitor so you can see real state of charge instead of guessing. Include a master shutoff switch so maintenance is less stressful. Use weather-resistant ports if the station sits near doors, porches, or utility areas. Mount components neatly with room for airflow and future access.
If you’re building for a cabin, retreat, or tiny home, think about daily movement. Place the station where people naturally charge things, not where the wiring happened to be convenient. Near an entry bench, built-in desk, utility nook, or kitchen side wall often makes more sense than hiding it in a hard-to-reach corner.
This is also where a design-conscious approach pays off. A solar setup does not have to look improvised to be capable. Clean cable runs, a durable enclosure, and thoughtfully placed outlets make the whole system feel calmer and more intentional. That matters when your broader goal is a lower-noise, more self-directed way of living.
When a prebuilt power station may be the better choice
There is one honest trade-off worth naming. If you want customization, expandability, and the best value over time, a DIY system usually wins. If you want plug-and-play simplicity with minimal setup, a prebuilt solar generator can be the better path. It is often more expensive per watt-hour, but it reduces wiring complexity and can be ideal for travel, renters, or anyone easing into solar.
For many people, the smartest move is to start with a small custom station and scale from there. That gives you a working system now and clearer insight into what you actually need next. Off The Grid Store speaks to this kind of progression well – not as a jump into extremes, but as a practical shift toward more freedom and less dependence.
Building your own solar charging station is not about chasing perfection. It is about creating one reliable point of independence that fits your space, your pace, and your version of off-grid living. Start with what you need, build it cleanly, and let the confidence that comes from self-powered everyday use shape what comes next.